
VPS Tutorials
Complete Guide to Caddy Reverse Proxy on a VPS (2026): Automatic HTTPS, Multiple Domains, and Docker Apps Explained
This guide is for users who already have a VPS and want to securely expose multiple websites or Docker applications to the public internet. You will learn how to install Caddy, configure DNS, write a minimal Caddyfile, reverse proxy local ports and Docker services, handle WebSocket, static sites, logs, reloads, troubleshooting, and security hardening.
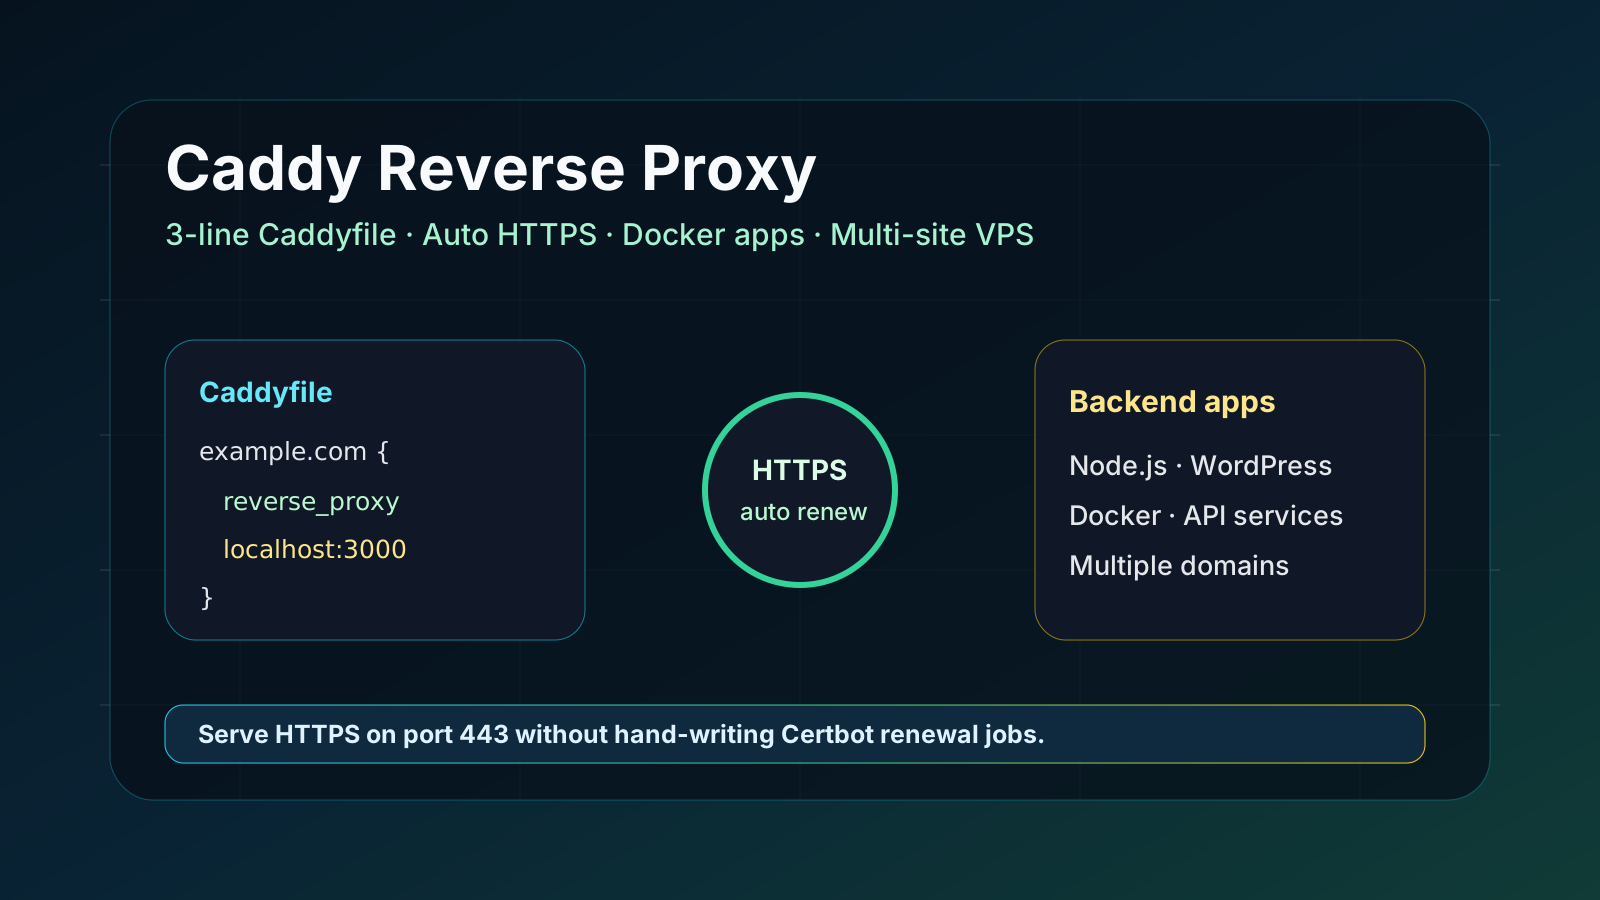
Complete Guide to Caddy Reverse Proxy on a VPS (2026): Automatic HTTPS, Multiple Domains, and Docker Apps Explained
If you have deployed Node.js, Next.js, WordPress, Directus, n8n, Vaultwarden, Uptime Kuma, or any self-hosted application on a VPS, you will soon run into the same problem: applications usually only listen on 127.0.0.1:3000, localhost:8080, or an internal Docker port, but real external access requires a domain, HTTPS, certificate renewal, HTTP-to-HTTPS redirects, WebSocket, logs, and multi-site management.
The traditional approach is often Nginx plus Certbot. It is powerful, but for beginners there are two pain points: configuration blocks are easy to get wrong, and certificate renewal requires extra maintenance. This is where Caddy's value lies: it automatically obtains and renews TLS certificates by default, the Caddyfile syntax is very short, and it is well suited for quickly organizing multiple services on a VPS into a maintainable entry point.
This article explains from scratch: how to install Caddy on a VPS, how to configure DNS, how to reverse proxy local applications and Docker applications, how to host multiple domains at the same time, and how to handle WebSocket, static files, logs, reloads, and common errors.
Caddy is best suited for these VPS scenarios:
- You have multiple services running on different ports, such as
3000,5678,8080. - You want to access different applications via
app.example.com,api.example.com,status.example.comrespectively. - You do not want to manually manage Let's Encrypt certificates and renewal tasks.
- You want configuration files that are short, readable, and easy to roll back.
- You are deploying self-hosted applications, Docker Compose, personal websites, internal tools, or small business services.
Caddy is not "only for beginners." Its automatic HTTPS, reverse proxy, static file serving, compression, logging, access control, and header rewriting are all complete. It simply makes the default configuration for common HTTPS sites more worry-free.
Before starting, you need to prepare:
- A VPS, preferably Ubuntu 22.04 / 24.04 or Debian 12.
- A domain, with the ability to modify DNS records.
- The VPS public IPv4 or IPv6 address.
- Ports
80and443open on the server. - An application already running on a local port, such as
127.0.0.1:3000.
First confirm the server time is correct:
timedatectl
If the time is clearly wrong, TLS certificate issuance may fail. Most cloud servers have NTP enabled by default, so no extra action is needed.
Assume your domain is example.com and the VPS IPv4 is 203.0.113.10.
Common DNS records are as follows:
A     app.example.com       203.0.113.10
A     api.example.com       203.0.113.10
A     status.example.com    203.0.113.10
If you use IPv6, add an AAAA record:
AAAA app.example.com 2001:db8::10
If you use Cloudflare, there are two modes:
- If you only want Caddy to obtain certificates itself: first set the orange cloud to DNS only, and consider proxy mode after the certificate succeeds.
- If using the Cloudflare proxy: the SSL/TLS mode should be Full or Full (strict), not Flexible, otherwise redirect loops are likely.
DNS takes time to take effect. You can check locally:
dig app.example.com +short
After it returns the VPS IP, continue configuring Caddy.
Installing from the official repository is better for long-term maintenance, because you can update later with the system package manager.
sudo apt update
sudo apt install -y debian-keyring debian-archive-keyring apt-transport-https curl
curl -1sLf 'https://dl.cloudsmith.io/public/caddy/stable/gpg.key' | sudo gpg --dearmor -o /usr/share/keyrings/caddy-stable-archive-keyring.gpg
curl -1sLf 'https://dl.cloudsmith.io/public/caddy/stable/debian.deb.txt' | sudo tee /etc/apt/sources.list.d/caddy-stable.list
sudo apt update
sudo apt install -y caddy
After installation, check the service status:
systemctl status caddy --no-pager
Confirm Caddy is running:
caddy version
If you use UFW:
sudo ufw allow 80/tcp
sudo ufw allow 443/tcp
sudo ufw status
If your cloud provider has security groups, you also need to allow inbound TCP 80 and 443 in the cloud console. Many "Caddy certificate issuance failed" cases are not caused by the Caddyfile, but by the security group not allowing port 80, so Let's Encrypt cannot complete HTTP-01 validation.
Caddy's main configuration file is usually:
/etc/caddy/Caddyfile
Assume your application runs on 127.0.0.1:3000 and the domain is app.example.com. The configuration can be very short:
app.example.com {
    reverse_proxy 127.0.0.1:3000
}
Edit the file:
sudo nano /etc/caddy/Caddyfile
After saving, format first:
sudo caddy fmt --overwrite /etc/caddy/Caddyfile
Then check the configuration:
sudo caddy validate --config /etc/caddy/Caddyfile
Finally reload:
sudo systemctl reload caddy
Visit https://app.example.com. If DNS, ports, and the application are all working, Caddy will automatically obtain a certificate and forward requests.
Many beginners let applications listen directly on 0.0.0.0:3000 and then reverse proxy with Caddy. This is usually not best practice.
A better approach:
公网用户 -> Caddy :443 -> 127.0.0.1:3000
The reasons are:
- External users can only access 80/443 and cannot bypass Caddy to access the application port directly.
- TLS, compression, logging, and security headers are all handled centrally by Caddy.
- Application services can be simpler and do not need to manage HTTPS themselves.
- The entry points between multiple applications are clearer.
If the application supports setting a listen address, prefer 127.0.0.1. For example, a Node.js application can listen only on the local address, and a Docker application can be mapped only to 127.0.0.1:端口.
A single VPS can run multiple services. The Caddyfile can be written like this:
app.example.com {
    reverse_proxy 127.0.0.1:3000
}

api.example.com {
    reverse_proxy 127.0.0.1:4000
}

status.example.com {
    reverse_proxy 127.0.0.1:3001
}
Each site block independently manages one domain. Caddy will automatically handle HTTPS for each domain.
If multiple domains point to the same service, they can also be written in the same site block:
example.com, www.example.com {
    reverse_proxy 127.0.0.1:3000
}
Assume your Docker Compose service listens on 3000 inside the container. The simplest way is to expose the port only to the local machine:
services:
  app:
    image: your-app:latest
    ports:
      - "127.0.0.1:3000:3000"
    restart: unless-stopped
Then Caddy reverse proxies the local port:
app.example.com {
    reverse_proxy 127.0.0.1:3000
}
This is safer than directly mapping 3000:3000, because the external network cannot directly access http://服务器IP:3000.
If Caddy also runs in Docker, you can put Caddy and the application on the same Docker network and then reverse proxy using the service name. But for most single-machine VPS users, installing Caddy on the system and binding Docker applications to localhost is more intuitive and easier to troubleshoot.
In most cases, no. Caddy's reverse_proxy handles common WebSocket upgrade requests.
For example, Uptime Kuma, n8n, some real-time dashboards, or WebSocket APIs can usually work directly:
ws.example.com {
    reverse_proxy 127.0.0.1:8080
}
If the application documentation requires preserving the Host header, Caddy already passes appropriate Host information by default. Only special upstreams require additional header changes.
Caddy can do more than reverse proxy; it can also directly host static sites.
Assume the static files are in /var/www/site:
example.com {
    root * /var/www/site
    file_server
}
Create the directory and set permissions:
sudo mkdir -p /var/www/site
echo '<h1>Hello Caddy</h1>' | sudo tee /var/www/site/index.html
sudo chown -R caddy:caddy /var/www/site
If your website has both static files and a backend API, you can also combine them:
example.com {
    root * /var/www/site
    file_server

    handle_path /api/* {
        reverse_proxy 127.0.0.1:4000
    }
}
Common sites can enable gzip and zstd:
app.example.com {
    encode zstd gzip
    reverse_proxy 127.0.0.1:3000
}
This is usually helpful for text resources, JSON APIs, HTML, CSS, and JS. Images and videos are generally already compressed and will not benefit noticeably.
Basic security headers can be added like this:
app.example.com {
    encode zstd gzip

    header {
        X-Content-Type-Options nosniff
        X-Frame-Options DENY
        Referrer-Policy strict-origin-when-cross-origin
    }

    reverse_proxy 127.0.0.1:3000
}
Note: do not blindly copy a very strict Content-Security-Policy. A wrong CSP can cause frontend resources, third-party logins, analytics scripts, or images to fail to load. In production, it is recommended to start with simple headers and then tighten CSP gradually.
Caddy has system logs by default, but you can also write separate access logs for a site:
app.example.com {
    log {
        output file /var/log/caddy/app.example.com.log
        format json
    }

    reverse_proxy 127.0.0.1:3000
}
Make sure the directory exists and belongs to the Caddy user:
sudo mkdir -p /var/log/caddy
sudo chown -R caddy:caddy /var/log/caddy
sudo systemctl reload caddy
View the logs:
sudo journalctl -u caddy -f
sudo tail -f /var/log/caddy/app.example.com.log
After every Caddyfile change, it is recommended to follow this order consistently:
sudo caddy fmt --overwrite /etc/caddy/Caddyfile
sudo caddy validate --config /etc/caddy/Caddyfile
sudo systemctl reload caddy
Check service status:
systemctl status caddy --no-pager
View real-time logs:
sudo journalctl -u caddy -f
Restart Caddy:
sudo systemctl restart caddy
Usually prefer reload, because it loads smoothly when the configuration is valid; only use restart when the service status is abnormal.
Check in order:
dig app.example.com +short
sudo ss -lntp | grep -E ':80|:443'
sudo ufw status
systemctl status caddy --no-pager
Key things to confirm: whether DNS points to the current VPS, whether Caddy is listening on 80/443, and whether the firewall and security group allow access.
Check Caddy logs:
sudo journalctl -u caddy --since "30 minutes ago"
Common causes:
- DNS has not taken effect yet.
- Port 80 is not open.
- The domain resolves to an old server.
- Cloudflare Flexible SSL causes redirect issues.
- The same domain fails frequently in a short period, triggering CA rate limits.
After fixing, do not restart frantically. Confirm DNS and ports first, then reload.
502 usually means Caddy can be reached, but the upstream application is not reachable.
Check the application port:
curl -I http://127.0.0.1:3000
sudo ss -lntp | grep 3000
If even a local curl fails, the problem is in the application, not Caddy. Check the application process, Docker container, environment variables, and startup logs.
For Docker applications, check:
docker ps
docker logs --tail=100 your-container-name
If you used handle_path, it strips the matched prefix. Some applications need to preserve the path prefix; in that case, use handle or directly reverse_proxy.
For example:
example.com {
    handle /api/* {
        reverse_proxy 127.0.0.1:4000
    }

    handle {
        reverse_proxy 127.0.0.1:3000
    }
}
Path issues most easily occur in the scenario of "multiple applications under one domain." If the application itself does not support a base path, prefer different subdomains rather than forcing it under a subpath.
Below is a template suitable for most single-machine VPS setups:
{
    email [email protected]
}

app.example.com {
    encode zstd gzip

    header {
        X-Content-Type-Options nosniff
        Referrer-Policy strict-origin-when-cross-origin
    }

    log {
        output file /var/log/caddy/app.example.com.log
        format json
    }

    reverse_proxy 127.0.0.1:3000
}

api.example.com {
    encode zstd gzip
    reverse_proxy 127.0.0.1:4000
}

status.example.com {
    reverse_proxy 127.0.0.1:3001
}
The global email is not mandatory, but it is recommended to fill in a real email address for ACME certificate-related notifications.
If you are already familiar with Nginx and have complex enterprise-level configurations, historical configuration libraries, or Lua/OpenResty ecosystem requirements, continuing to use Nginx is fine.
If you are in the following situations, Caddy is often more worry-free:
- A single VPS or a small number of VPS instances.
- The main need is HTTPS reverse proxy and multiple domains.
- Many self-hosted applications, but traffic scale is not extreme.
- You want to reduce maintenance of Certbot, renew hooks, and server block templates.
- Team members do not all have an operations background, and you want better configuration readability.
Simply put: Nginx is more like a Swiss Army knife with many features, while Caddy is more like an automated entry point optimized for modern HTTPS sites. For personal VPS and small-to-medium self-hosted scenarios, Caddy is highly efficient.
Before going live, it is recommended to do these checks:
- Bind application ports only to
127.0.0.1, and do not directly expose ports such as3000,8080. - Open only necessary ports in the cloud security group, such as 22, 80, and 443.
- Use key-based SSH login and disable password login.
- After modifying the Caddyfile, validate before reloading.
- Add the application's own login, strong passwords, or single sign-on for backend services.
- Do not expose important data services directly to the public internet just because you have Caddy.
- Regularly update the system and Caddy.
Caddy solves the web entry point and TLS; it does not equal completing application-layer permission control for you. Backend systems, admin panels, and database panels still need their own authentication and access control.
When deploying multiple applications on a VPS, Caddy can combine the high-frequency issues of "domain, HTTPS, certificate renewal, reverse proxy, and multi-site entry" into a very short Caddyfile.
The minimal configuration only needs:
app.example.com {
    reverse_proxy 127.0.0.1:3000
}
But for truly stable production, you also need to check DNS, ports 80/443, firewall, security groups, application listen addresses, logs, and the reload process. As long as you configure it as described in this article, you can use one VPS to host multiple HTTPS services at the same time, and no longer need to write extra scripts for certificate renewal.