
VPS Tutorials
Self-Hosted Immich Photo Backup on a VPS (2026): Docker Compose, Mobile Sync, Storage and Backup Pitfalls
This tutorial is for users who want to build their own photo backup service on a VPS. You will learn to deploy Immich with the official Docker Compose, configure the upload directory, database directory, version and password, serve HTTPS through a reverse proxy, connect the mobile app for automatic backup, and above all understand the pitfalls that are easy to overlook: storage capacity, database backups, upgrades and public-network security.
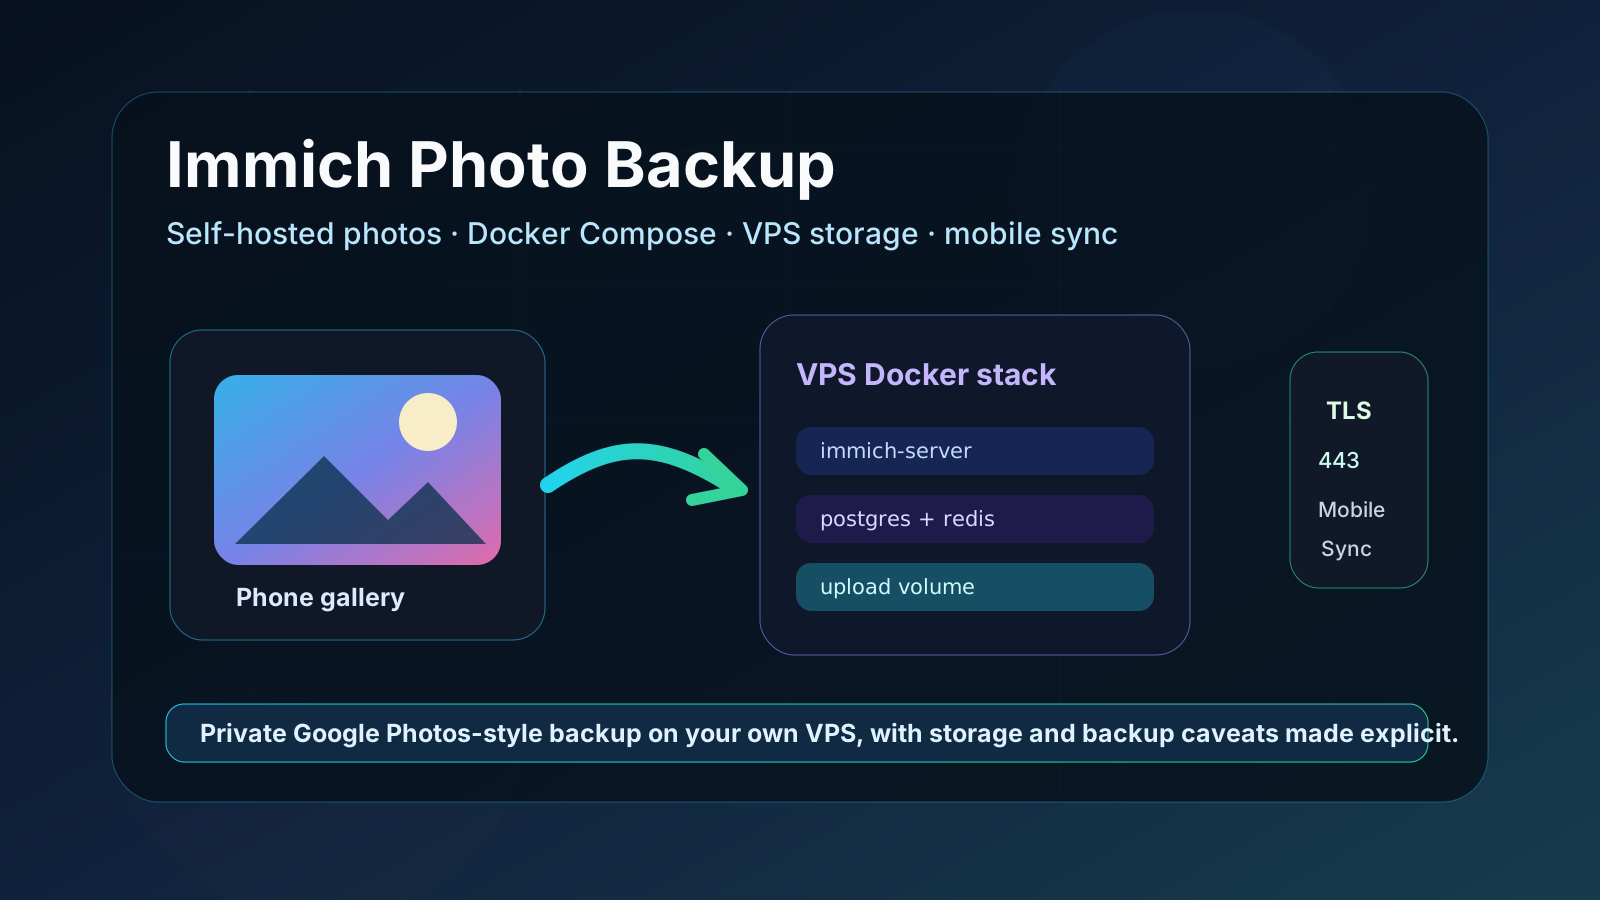
Self-Hosted Immich Photo Backup on a VPS (2026): Docker Compose, Mobile Sync, Storage and Backup Pitfalls
As phone photos pile up, many people start wrestling with the same question: keep buying more iCloud, Google Photos or OneDrive space, or move photos back onto their own server? If you already have a VPS, Immich is currently one of the open-source options closest to a "self-built Google Photos": automatic phone backup, timeline browsing, face recognition, album sharing, video previews and a web admin interface are all fairly complete.
But Immich is not a small tool you can just "run in a container and forget". Photos and videos keep eating disk space, both the database and the upload directory need backups, the machine learning components consume memory, and upgrades need more care than a plain static site. This article does not just cover installation commands; it also explains the pitfalls most easily hit when deploying Immich on a VPS: where to put storage, how to expose ports, how phones sync, what to back up, and when a small VPS is not the right place for Immich.
Short answer: yes, but it depends on your photo scale and budget.
Cases where VPS deployment fits:
- You want a private photo backup entry point for yourself or family members.
- Your photos are in the tens of GB to a few hundred GB, and you can accept expanding disk on demand.
- You want the mobile app to upload automatically instead of manual rsync or SFTP.
- You are willing to back up the database and upload directory regularly.
- You have a domain and can access it over HTTPS.
Cases where it fits less well:
- You already have several TB of photos and videos but only bought a small VPS disk.
- You want it to be your only backup, with no second copy.
- The machine has only 512MB of memory and you still want to run many services on it.
- You do not want to maintain Docker, PostgreSQL, a reverse proxy and an upgrade process.
Immich's experience is good, but photo backup is a long-term data business. What you really need to consider is not "can it start today", but whether you can recover six months later when the disk is full, an upgrade fails, or the database breaks.
If it is just a personal test:
| Purpose | Suggested configuration |
|---|---|
| Trying it out with a few photos | 2 vCPU / 2GB RAM / 40GB SSD |
| Long-term personal use | 2-4 vCPU / 4GB RAM / 100GB+ SSD |
| Multi-person family use | 4 vCPU / 8GB RAM / 300GB+ SSD or extra mounted storage |
Immich includes components such as server, machine learning, Redis/Valkey and PostgreSQL. It can barely start with too little memory, but background thumbnail generation, video transcoding, face recognition and machine learning tasks will make the experience worse.
If the VPS disk is not large, it is not advisable to import all original phone photos at the start. First run a test album through upload, browsing, backup and restore, then decide whether to migrate your main photo library.
Before starting, prepare:
- An Ubuntu 22.04 / 24.04 or Debian 12 VPS.
- Docker Engine and the Docker Compose plugin installed.
- A domain, for example
photos.example.com. - A firewall that only opens necessary ports.
- A sufficiently large disk directory, for example
/opt/immich/library.
Confirm Docker is available:
docker version
docker compose version
If you use the old Docker from system repositories, you may hit Compose syntax incompatibilities. Immich's official docs also remind you: the correct command is docker compose, not the old docker-compose. If you encounter strange Compose errors, install the version from Docker's official repository first.
It is recommended to put Immich in /opt/immich:
sudo mkdir -p /opt/immich
sudo chown -R "$USER":"$USER" /opt/immich
cd /opt/immich
All configuration files go in this directory afterwards, which makes backup and migration easier.
Immich officially recommends Docker Compose deployment and requires the compose file corresponding to the current release.
wget -O docker-compose.yml https://github.com/immich-app/immich/releases/latest/download/docker-compose.yml
wget -O .env https://github.com/immich-app/immich/releases/latest/download/example.env
After downloading, the directory should contain:
ls -la
At minimum you should see:
docker-compose.yml
.env
Do not copy the compose file from the GitHub main branch directly into production, because the main branch may be incompatible with the latest release. Using the release download link is more stable.
Open .env:
nano .env
Focus on these variables:
UPLOAD_LOCATION=/opt/immich/library
DB_DATA_LOCATION=/opt/immich/postgres
TZ=Asia/Shanghai
IMMICH_VERSION=v2
DB_PASSWORD=换成一串随机密码
What these variables mean:
UPLOAD_LOCATION: the photo and video upload directory, which must have enough space.DB_DATA_LOCATION: the PostgreSQL data directory. The official example warns that the database directory is not supported on network shares.TZ: timezone; users in mainland China usually useAsia/Shanghai.IMMICH_VERSION: the Immich version to use. You can usev2; the more cautious approach is to pin a specific version.DB_PASSWORD: the PostgreSQL password. Use a random string containing only letters and digits to avoid problems when Docker parses special characters.
Generate a simple random password:
openssl rand -base64 24 | tr -dc 'A-Za-z0-9' | head -c 24
Create the storage directories:
mkdir -p /opt/immich/library /opt/immich/postgres
In the /opt/immich directory, run:
docker compose up -d
Check container status:
docker compose ps
View logs:
docker compose logs -f --tail=100
The official compose exposes 2283:2283 by default, so you can temporarily visit:
http://服务器IP:2283
If the page opens, the service is up. On first entry, create the admin account, then go to system settings.
Accessing IP:2283 directly during testing is fine, but for long-term use it is not recommended to expose Immich on a public port.
More recommended:
公网用户 -> Caddy/Nginx :443 -> 127.0.0.1:2283 -> Immich
You can change the port in compose to listen only on localhost:
ports:
  - '127.0.0.1:2283:2283'
Then restart:
docker compose up -d
This way the outside cannot access IP:2283 directly; it can only be reached through the reverse proxy domain.
Assuming the domain is photos.example.com, the Caddyfile can be written like this:
photos.example.com {
    encode zstd gzip
    reverse_proxy 127.0.0.1:2283
}
After modifying, validate and reload:
sudo caddy fmt --overwrite /etc/caddy/Caddyfile
sudo caddy validate --config /etc/caddy/Caddyfile
sudo systemctl reload caddy
Then visit:
https://photos.example.com
If you use Nginx, you can also reverse proxy to 127.0.0.1:2283. The point is not Caddy versus Nginx, but not exposing the admin entry and upload entry directly on uncontrolled ports.
Immich has Android and iOS clients. The general flow is:
- Install the Immich App on your phone.
- Fill in the Server URL with your HTTPS address, for example
https://photos.example.com. - Log in with the account you just created.
- Select the albums to back up.
- Enable options such as background backup and Wi-Fi-only backup.
The first backup may be very slow, especially if the phone already holds many photos and videos. Suggestions:
- Start with only one test album.
- Confirm the photos are visible on the web side.
- Confirm VPS disk growth matches expectations.
- Then gradually enable backup for all albums.
Do not push tens of thousands of photos up all at once. The first import is the stage most likely to expose disk, bandwidth, heat and background permission problems.
Immich stores photos and videos in the directory specified by UPLOAD_LOCATION. When planning capacity, do not only look at the current phone album size; also consider:
- New photos and videos added over the next year.
- Video files are usually much larger than photos.
- Thumbnails, transcoded files and machine learning caches also take space.
- Backup archives also need extra space.
Check directory usage:
du -sh /opt/immich/library
Check the disk:
df -h
If you expect the photo library to quickly exceed the VPS system disk, it is advisable to put UPLOAD_LOCATION on a separately mounted data disk from the start, for example:
UPLOAD_LOCATION=/mnt/photos/immich-library
But the database directory DB_DATA_LOCATION is not recommended on a network share. Databases are more sensitive to latency and consistency and should be on a local SSD or reliable block storage.
Immich is not a backup tool itself; it is a photo management and sync service. A real backup must include at least two parts:
- The upload directory:
UPLOAD_LOCATION - The database directory or a PostgreSQL export
If you only back up photo files and not the database, albums, users, metadata and recognition results may be incomplete after restore. If you only back up the database and not the upload directory, it is meaningless.
A simple archiving approach:
mkdir -p /opt/backups/immich

tar czf /opt/backups/immich/immich-library-$(date +%F).tar.gz -C /opt/immich library
For the database, it is better to export with PostgreSQL tools rather than copying the data directory while it is running. You can enter the database container and run:
docker compose exec database pg_dump -U postgres immich > /opt/backups/immich/immich-db-$(date +%F).sql
After the backup completes, use rclone, object storage or another server to keep a second copy. The worst thing for photo backups is "only one copy, and it is on the same machine".
Immich updates fairly actively, so blind automatic upgrades are not recommended. Before upgrading:
- Read the release notes.
- Back up
.envanddocker-compose.yml. - Back up the database and upload directory.
- Pull the new compose or update the version variable.
- Run
docker compose pull. - Then
docker compose up -d.
Basic commands:
cd /opt/immich
cp .env .env.bak.$(date +%F)
cp docker-compose.yml docker-compose.yml.bak.$(date +%F)
docker compose pull
docker compose up -d
Check logs after upgrading:
docker compose logs -f --tail=100
If you use a specific version tag, the upgrade pace is more controllable; if you follow v2 or release directly, it is less work but changes faster.
Check containers:
docker compose ps
docker compose logs --tail=100 immich-server
Check ports:
ss -lntp | grep 2283
If you bound the port to 127.0.0.1, public access to IP:2283 will not work anyway; you need to access it through the reverse proxy domain.
Common causes:
- VPS bandwidth is too small.
- Phone background permissions are restricted.
- Too many files on the first upload.
- Weak VPS disk I/O.
- Reverse proxy upload size limit is too small.
Test with a few photos first, then open it up gradually.
Check directories:
du -h --max-depth=1 /opt/immich | sort -h
Focus on library, postgres, Docker overlay and logs. Do not casually delete Immich internal directories; first confirm which are caches and which are original upload files.
Immich's machine learning component is used for search, face recognition and similar features. If the VPS configuration is very low, the first scan will raise CPU and memory usage. You can let it finish during off-peak hours, or temporarily reduce the import volume.
If your photos already exceed 1TB and keep growing every day, a small VPS may not be the right place. You need to consider:
- Block storage expansion costs.
- Outbound traffic costs.
- The cost of backing up to a second location.
- VPS provider limits on long-term heavy traffic.
- Data recovery time.
In such cases, a home NAS, object storage, a dedicated large-disk server or a hybrid approach may be more suitable. Immich can be deployed on a VPS, but for a business like a photo library that grows long-term, the ultimate bottleneck is usually storage and backup, not the installation commands.
Deploying Immich on a VPS is not complicated: download the official docker-compose.yml and .env, set the upload directory, database directory, version and password, then run docker compose up -d and it runs.
What really deserves attention is the second half: do not expose ports, use an HTTPS domain; do not put the database on a network share; do not back up only photos without the database; do not blindly auto-upgrade; do not import all photos at once onto a small-disk VPS.
If you just want to try self-hosted photo backup, Immich is well suited to starting from a 2-4GB memory VPS; if you want to turn it into a long-term family photo center, plan storage, backup, restore drills and the upgrade process together.