
VPS Tutorials
Connect to a VPS with WinSCP on Windows (2026): SFTP uploads, downloads and common errors
Connect Windows to a Linux VPS using WinSCP: check SFTP settings, choose password or private-key login, verify the host fingerprint, upload and download a test file, and troubleshoot timeouts, authentication and permissions.
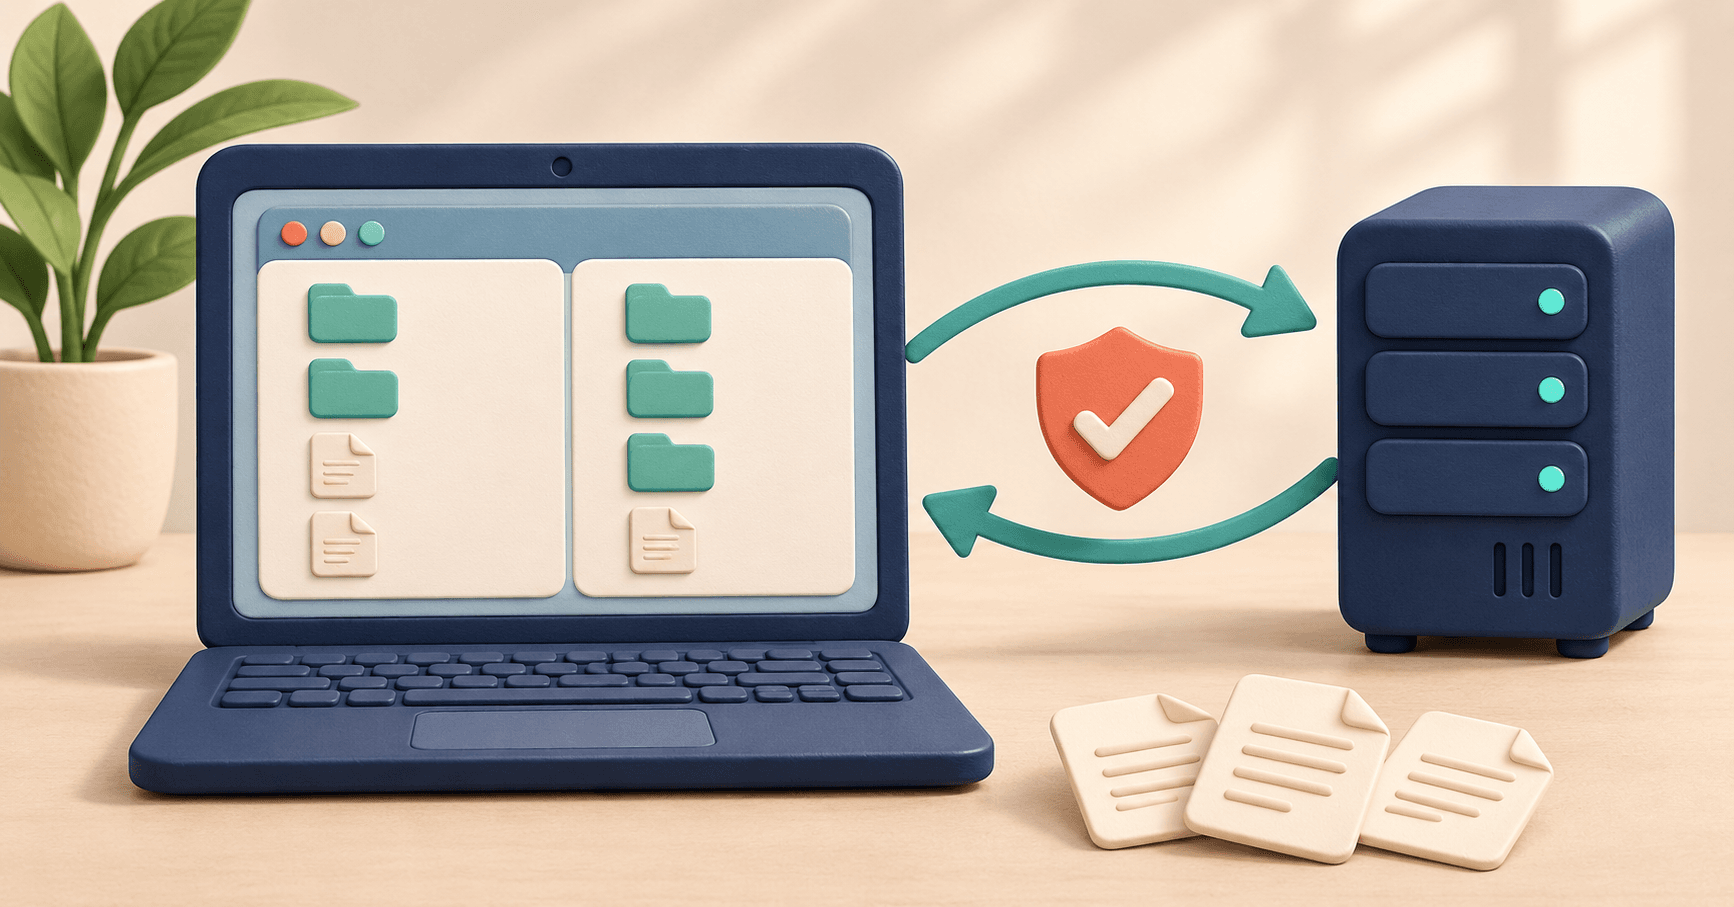
You do not need to memorize transfer commands before uploading files to a VPS from Windows. WinSCP provides a graphical interface for uploading and downloading between local and remote folders. Enter the right address, port and authentication, then use a test file to confirm the path and permissions.
This guide covers client operations for a Linux VPS already offering SFTP. If SFTP is not enabled, an administrator must configure it first. Installing WinSCP does not enable a server service.
Confirm them in the provider panel, provisioning information or with the administrator. WinSCP's official connection guide notes that the server management address may differ from the website domain.
| Login field | What to enter | Common mistake |
|---|---|---|
| File protocol | SFTP for this guide | Confusing SFTP with ordinary FTP |
| Host name | Connection IP or management hostname | Full webpage URL or provider panel address |
| Port number | Actual SSH/SFTP port, commonly 22 | Website ports 80 or 443, or FTP port 21 |
| User name | Actual server account | Assuming root works on every machine |
| Password or private key | That account's credentials | Provider website account password |
For a changed SSH port or port-mapped VPS, use the actual connection details. If terminal login works, compare its address, port and username.
Download from the official WinSCP download page. Open the login window, select New Site and enter the details above with SFTP selected.
Give saved sites clear names, such as Personal Blog Test Server. With similar VPS instances, record address and account so files do not go to the wrong machine. Avoid saving passwords casually on shared computers.
If you have not confirmed system login, start with connecting to a VPS from Windows.
Use the server account's password if password login is permitted. An account allowing keys only will not connect through repeated attempts with the provider panel password.
For a key, open Advanced, then SSH → Authentication and select your local private key under Private key file. Confirm and return to the login window. See official private-key settings.
Select the private key, not the .pub public-key file. If its format is unsupported, convert it according to WinSCP and official instructions; renaming the extension is insufficient. A protected key may also request its passphrase. Keep private keys on devices you control; do not upload them to the VPS as ordinary files.
Click Login. A first connection may display a server host-key prompt. This identifies the server, separately from the account credentials identifying you.
Follow WinSCP's fingerprint guidance: obtain the fingerprint through an administrator or another trusted channel and compare it with the prompt. A trusted provider console can help; follow the platform's instructions.
Accept and save only after a match. If a known server unexpectedly changes its key, verify reinstallations, migrations or key rotation before acting. Do not simply remove the old record to dismiss the warning. See checking changed SSH host keys.
In the two-pane Commander interface, one side normally shows local files and the other remote directories. Check both paths and find a remote directory writable by your current account.
Create a text file without sensitive data locally, such as transfer-test.txt. Following the official upload guide, open the target remote folder, drag the local file into the remote pane, check the transfer destination and confirm.
Use your own user directory for the first test instead of overwriting a website homepage or system configuration. Wait for completion, refresh the remote list and check filename, location and size. For overwrite prompts, decide whether the existing file must be retained.
A file in the remote directory does not prove the website is published. Confirm the upload location, the directory read by the website and any required redeployment against application configuration. Transfer success and application-update success are separate checks.
Select the remote test file, download it into another dedicated local folder and open it to check the contents. This confirms you understand local and remote transfer directions.
The official download guide describes dragging from the remote pane to a local location. For an ordinary download, do not hold Shift or choose Download and Delete: those actions may move the file and remove the remote original after transfer.
For future website downloads, check for same-named local files too. Copying a few files from a running database does not automatically create a consistent, restorable backup. Use the application's proper backup method.
Check address, actual port, instance state and security-group/firewall access. Reaching the provider panel does not establish that SSH/SFTP is reachable.
Check username and authentication method. Confirm the private key matches the server's public key, and distinguish key passphrase from login password. If terminal access works, compare both clients' parameters before considering server reinstallation.
Inspect destination permissions, ownership or server restrictions. Try a directory known to be writable by your account first, then ask an administrator to grant only the access needed for the target.
WinSCP's official user-switching guidance says a transfer session cannot directly switch to another user midway. Ordinary sessions do not automatically gain administrator privileges. Do not make an entire website directory writable by everyone just to upload one file.
Read failed items and exact errors. Check disk space, connection and destination. Before retrying, inspect partial remote files and the client's recovery options. Finished overall progress does not prove every file is complete.
Complete a small upload and download with a content check before moving real data. For batch synchronization, exclusions or command-line transfer, see the scp, rsync and sftp guide and choose the tool for your task.