
VPS Tutorials
Website down after a VPS IP change (2026): restoring SSH, DNS and HTTPS
Check access after a VPS IP change in order: login at the new address, domain targets, proxy origins and HTTPS, followed by a validation checklist for subdomains, IPv6 and application settings.
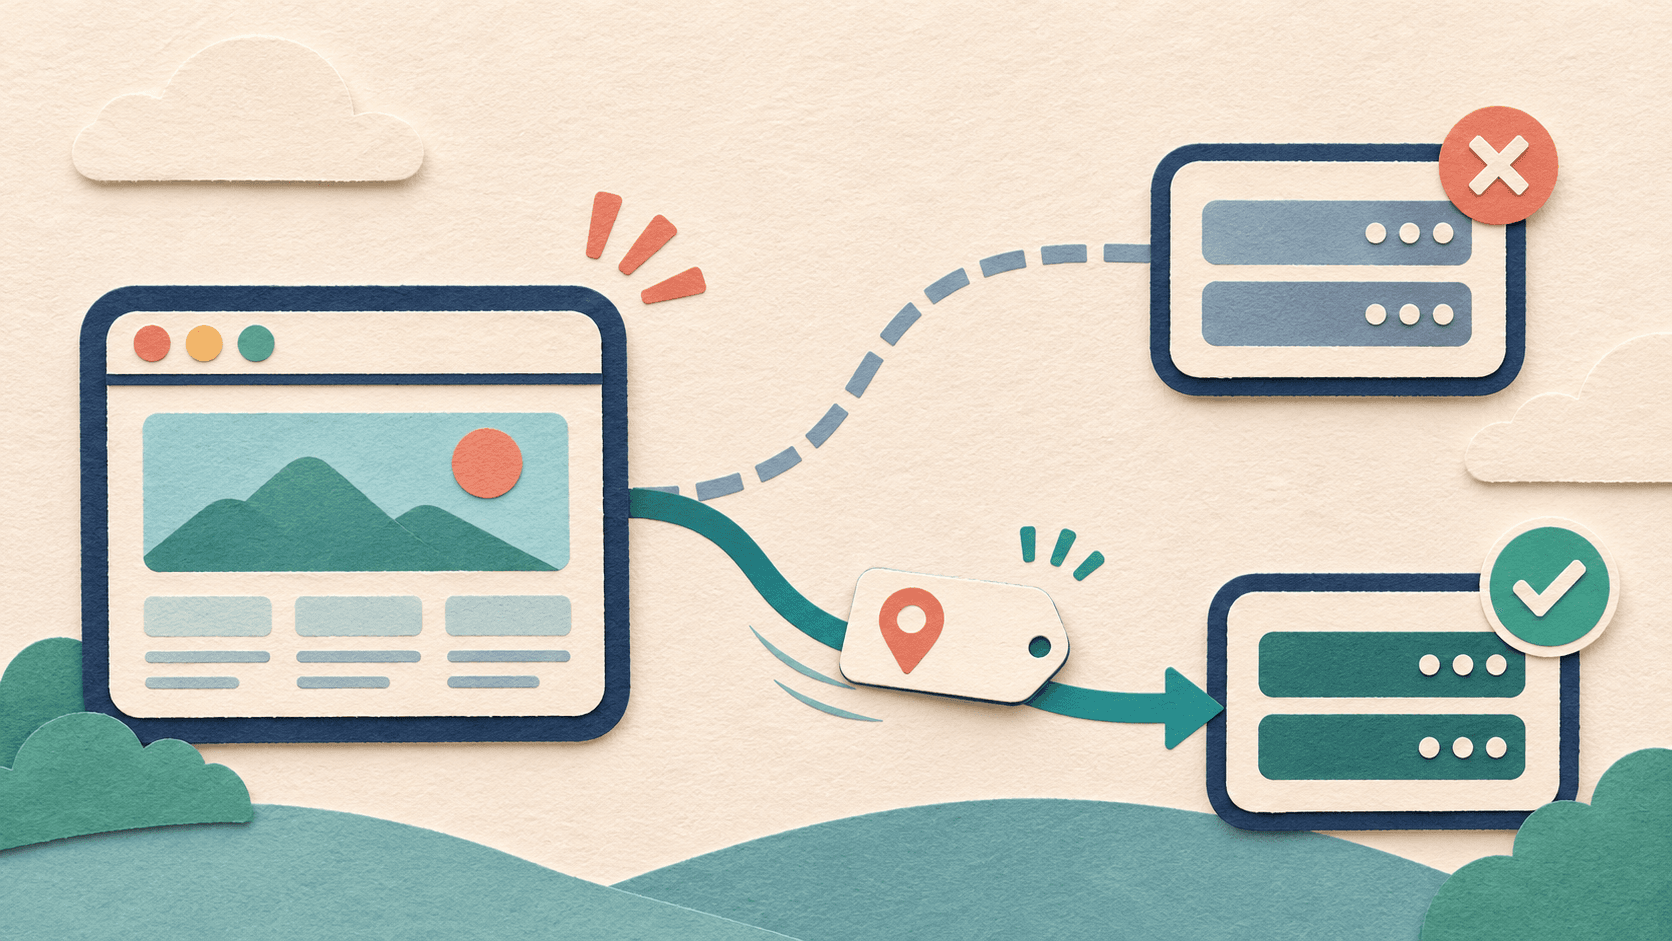
After a VPS IP change, troubleshoot the website through three entry points in order. First confirm server login at the new address, then update domain targets, and finally test HTTPS and application features at the URL visitors use. Record each result so later checks have evidence.
This guide is for beginners who changed an IP, adjusted a public address or migrated an instance. Open the provider and DNS panels and prepare old and new addresses, login details and recent change records.
When the panel shows a new IP, check instance ID, operating system, disks and login method. If the provider created another instance or you chose a new VPS, migrate the website, database, certificates and files too. Confirm they are ready before switching production traffic.
If the same instance received a different public address, check the provider's network configuration requirements. Some environments configure automatically; others need system networking changes. Follow the instance instructions. If unsure, give support the instance ID and before-and-after state.
A short change table is easier to check than memory alone.
| Item | Before the change | What to confirm afterward |
|---|---|---|
| Public IPv4 and IPv6 | Old addresses and protocols actually used | New addresses are attached to the correct instance |
| System and login | Username, port and password or key | Whether the new instance retains the configuration |
| Website data | Files, database and backup locations | Complete data is readable in the new environment |
| Domain entry points | Root domain, www, API and others | Which records still target the old address |
Update the address in your local SSH tool and check username, port and authentication. Saved sessions or connection configurations may still point to the old IP. If you normally connect by hostname, first test the new public address according to provisioning details.
For a changed host fingerprint warning, verify the new host through a trusted console or administrator. Confirm whether the system was rebuilt, the instance changed or host keys rotated before handling the old record. Verifying SSH host fingerprints
If the new address still times out, inspect instance state, cloud security groups, system firewall and actual SSH port. A panel console can show whether boot completed and let you check the provider's required network setup. Using the VPS web console
Identify who currently manages the domain's DNS. The registrar and DNS platform may differ; edit the authoritative service actually in use.
For Cloudflare-managed DNS, open the site's DNS Records page, find records targeting the old VPS, select Edit, change the address and Save. Keep the old values first and check record names. Cloudflare's guidance requires updating the Content of relevant records, commonly A or AAAA, when the origin IP changes. Managing DNS records
| Record | Check after an IP change |
|---|---|
| Root-domain A | If it uses the old VPS IPv4, replace it with the target instance's current IPv4 |
| www A | Update it if it independently points to the old IPv4 |
| www CNAME | Follow the target hostname and confirm its final destination is updated |
| API, administration, image and other subdomains | Check individually whether they use the same old VPS |
| AAAA | If IPv6 is used, confirm its target remains valid so some visitors do not reach the old environment |
Reopen the record list after saving and confirm values persisted. Assess email and other business records according to their own purposes. If only the website address changed, begin with the related website records. Full guide to pointing a domain at a VPS
Public DNS queries for Cloudflare-proxied domains usually return Cloudflare addresses. To verify the origin update, inspect the record's actual Content in the panel and check whether another product or routing setting overrides origin selection. Proxy status guidance
For load balancing, reverse proxies or other CDNs, find their configured origin too. Requests may cross several layers. Record the path and inspect each place that could retain the old address.
DNS-only records remain affected by existing caches. Different networks can temporarily see different results. Test from mobile data and your usual broadband after saving and record the time. Lowering TTL afterward affects future caching; records already cached may remain for a while. TTL and caching
Enter the complete HTTPS URL visitors normally use. Check homepage, details, images and login. Access by IP may show a default site or a certificate-name error; validate with the actual domain.
After moving to a new instance, check the website's domain binding, certificate and expiry in the hosting panel, and whether the web service listens on the right port. Cloudflare Full (strict) also requires the new origin to offer a valid HTTPS certificate matching the hostname. Full (strict) requirements
| What you see | Next checks |
|---|---|
| SSH works at the new IP, but the domain reaches the old site | DNS records, caches and the proxy's saved origin |
| A default welcome page | Deployment on the new instance and correct domain-to-site binding |
| Homepage works, login or API fails | API subdomains, application settings and external connections still storing the old address |
| HTTPS errors | Site binding, certificate chain, hostname and proxy-to-origin encryption |
| 521 or 522 | Origin service, ports, network reachability and permitted firewall sources |
If ports and services need further inspection, follow the related troubleshooting guide and record results one at a time. Troubleshooting public website access
After recovery, check scheduled backup targets, monitoring addresses, database or API IP allowlists and saved local SSH sessions. Update only services you actually use. Test each change and confirm responses contain current data from the correct environment.
If the old instance still runs, check for data written since migration before retiring it. Finally open the production domain from two networks you actually use, test login, reads and one small operation, and record the new IP, change date and verification results.