
VPS Tutorials
How to Restore a VPS Snapshot: Roll Back or Create a Test Server (2026)
Check which disks a VPS snapshot covers, preserve newer data, then restore the original server or create an isolated test VPS. Verify SSH, storage, and the site before switching traffic.
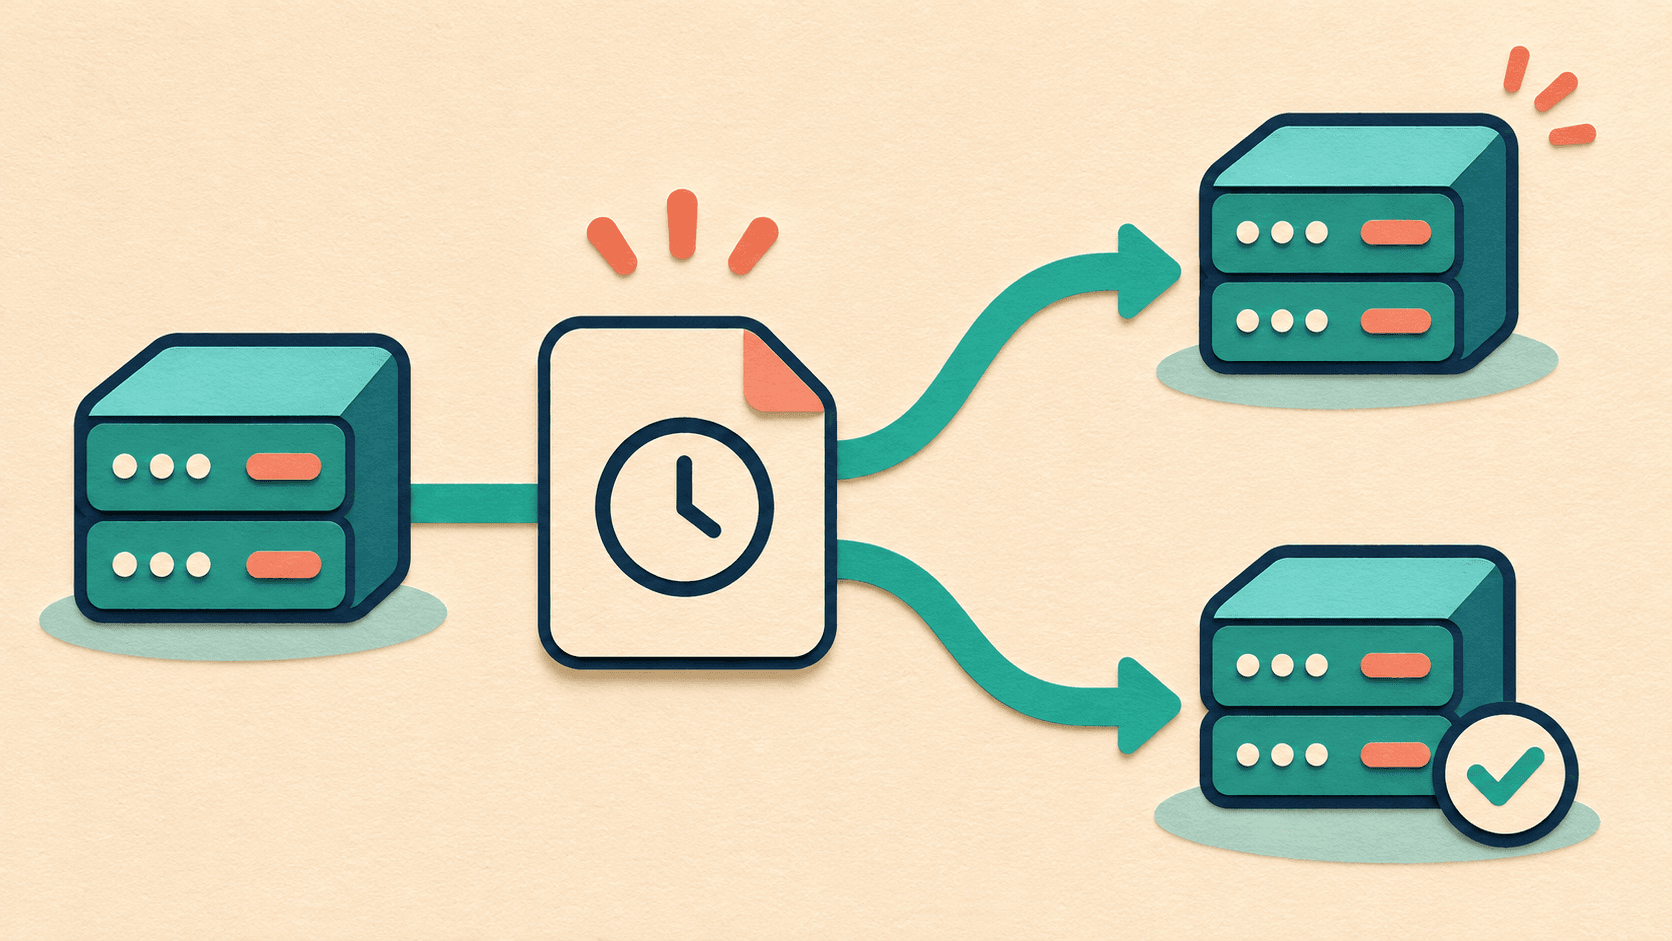
A VPS snapshot lets you restore a disk to an earlier point or use that disk image to create another server. Before your first restore, decide what current data you need to keep. Restoring the original instance overwrites the contents of the disk covered by the snapshot. If you need just one file, want to see whether the database is readable, or have yet to test the snapshot, start with an isolated copy.
Open the snapshot list in your provider’s control panel. Check the source instance, creation time, status, and available regions. Anyone managing the account can name a snapshot. Use its recorded creation time and the state of the application at that point to choose a restore point.
Suppose the snapshot was taken at 9 a.m. and the failure happened at 3 p.m. Images uploaded, forms submitted, and configuration changed after 9 a.m. may exist only on the current system or in a separate backup. Find out where those changes are before you choose a restore point. If the current system is still readable, back up the files and database you need to a location the restore will leave intact.
| What you need back | What to confirm before you start |
|---|---|
| System files, site code, and configuration | Whether they live on the system disk covered by the snapshot |
| Uploads and databases | Whether they live on the system disk, an attached volume, or a separate service |
| Attached data disks | Whether there is a volume snapshot and whether its timestamp works with the system disk snapshot |
| Cloud firewall, domain, and public address | Which settings are managed separately in the provider’s console or by your DNS service |
DigitalOcean, for example, manages Droplet snapshots separately from volume snapshots. A Droplet snapshot captures disk contents. The public IP and platform settings belong to the instance’s metadata. Check the scope for your provider and snapshot type. See the Droplet snapshot guide and the volume snapshot guide.
To recover individual files or check a restore point, create a separate instance. You can read the data you need before deciding whether to move production traffic. Check what your provider charges for the instance, data disks, and snapshots.
- On the instance creation screen, choose the snapshot you want to test as the image. For a DigitalOcean Droplet, look for Choose an image → Snapshots.
- Pick a region where the snapshot is available and a plan that meets the disk size requirements. Make sure you have the system disk, any required data disks, and a way to sign in.
- Set up isolation before the first boot. Use a separate network or firewall rules to limit the test server’s access to production databases, queues, email services, and payment callbacks. Scheduled jobs and background services from the snapshot may start on boot. If the platform cannot provide the isolation you need before boot, have the maintainer arrange a controlled restore environment first.
- After creation, get the new address from the control panel and sign in from that controlled environment. To recover a file, check its contents and timestamps, copy what you need, and confirm the copy is intact before returning it to the current site.
Some providers restore the original system accounts and installed software. Check the test instance’s SSH access and host fingerprint, and look for old addresses in the restored configuration. For a drill, use a restricted test address and keep the production domain pointed at the live site. See how to create a Droplet from a snapshot.
Say an upgrade leaves your site unable to start. If the pre-upgrade snapshot covers the required disk and you’ve saved newer data elsewhere, you can schedule an in-place rollback. Set a maintenance window, record the instance ID, and confirm you have a recoverable copy of any current data you need.
On DigitalOcean, go to Backups & Snapshots → Snapshots, find the snapshot, open More, and choose Restore Droplet. Check the target and restore point in the confirmation window. After you confirm, the snapshot replaces the contents of the restored disk. See how to restore an existing Droplet.
If you want a new snapshot of the current state first, follow your provider’s guidance on pausing application writes or shutting down cleanly. A running database may still have data waiting to be written to disk. Use the application’s supported procedure for database exports and restores. Once the new copy is available, return to the older snapshot and start the rollback. See how to take a Droplet snapshot.
Watch the restore progress and instance status in the control panel. When it finishes, reconnect using the address shown there. If SSH reports a different host identity, verify the fingerprint using a trusted console. See the SSH host fingerprint guide in Chinese.
| Check | What to verify |
|---|---|
| SSH and the system | Sign in with the expected account and port. Confirm the host, disks, and system date. |
| Attached volumes | Verify the volume, mount point, and contents. Mount a restored volume using the provider’s recovery process. |
| Files and database | Check several records you expect to find, verify the restore point, and bring back saved changes as needed. |
| Site and API | Use the intended domain to test HTTPS, detail pages, and login. Try one test action you can undo. |
| Scheduled jobs and notifications | Confirm the designated instance runs the jobs and that email, backups, and monitoring point to the correct services. |
If an attached disk has a separate snapshot, follow the provider’s volume recovery procedure to create and mount the restored disk. Use its existing file system and check the data before allowing application writes. If the system disk and data disk come from different times, check that the software version and data schema are compatible. See how to create a volume from a snapshot.
If you decide to move production to the new server, schedule the final sync and the cutover. Decide how to handle writes on both servers, then update DNS or the provider’s address binding. Test from the network your visitors use, and check the backups and recovery records before retiring test instances. See the checklist for a VPS IP change in Chinese.
Record the snapshot ID, restore date, actual data recovery point, and verification results. Next time you need one file, you’ll know which restore point works. See the VPS backup and restore drill in Chinese.