
VPS Tutorials
Set Up Headscale on a VPS (2026): Self-Hosted Tailscale Control Server, HTTPS, Access Policies and Subnet Routing
Set up a self-hosted Headscale Tailscale control server on a VPS: Caddy HTTPS, device registration, Grants policies, subnet routing, Exit Node, DERP, backup, upgrade and troubleshooting.
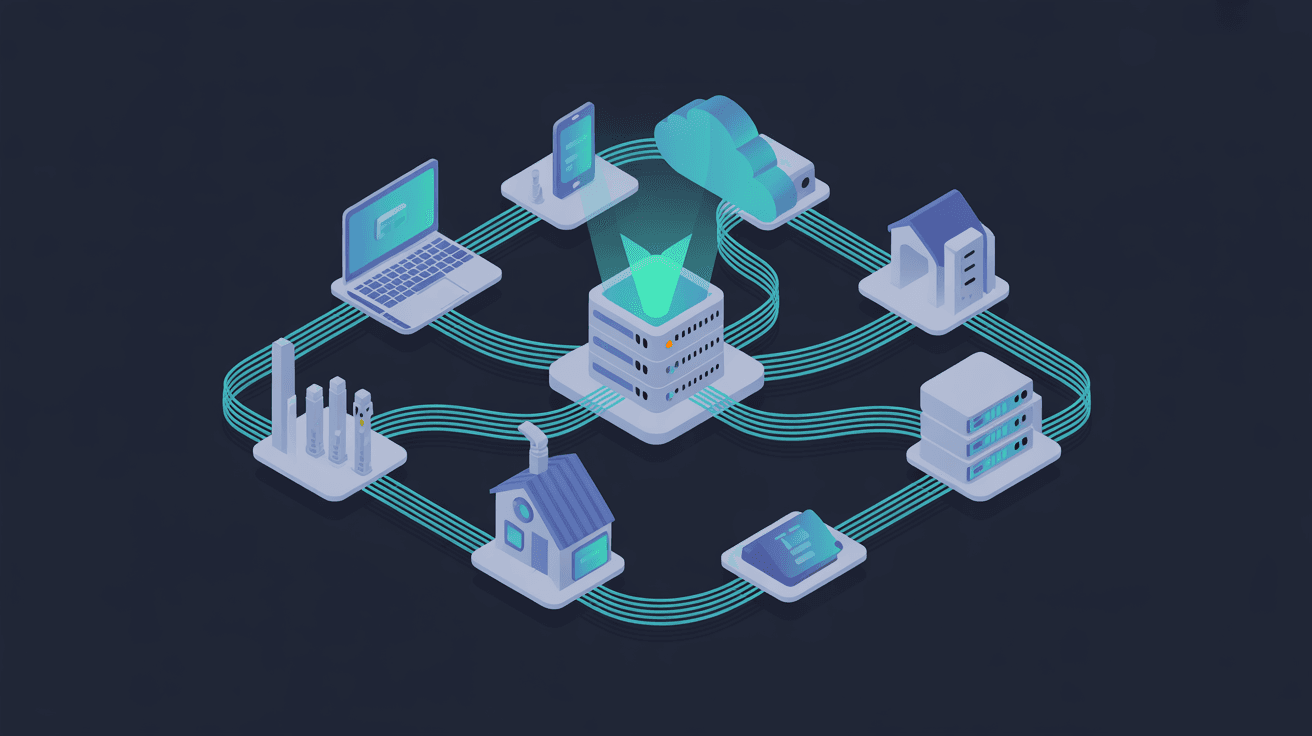
Set Up Headscale on a VPS (2026): Self-Hosted Tailscale Control Server, HTTPS, Access Policies and Subnet Routing
If you want to build a network with Tailscale but don't want to hand device, policy and node management over to a hosted control plane, Headscale is basically the option you can't avoid.
But let's clear up one misconception first: Headscale is not a "VPN service where all traffic goes through the VPS." It handles device registration, key distribution, policy and route coordination; when two devices can connect directly, the actual data still travels over encrypted WireGuard peer-to-peer. Only when direct connection fails and DERP relay is enabled might traffic pass through a relay server.
You can think of them as two layers:
- Headscale: the control plane you maintain yourself, deciding "who can join, who can access whom";
- Tailscale client: installed on computers, phones and servers, receiving configuration from the control plane;
- WireGuard: the data plane that actually carries encrypted traffic between clients.
If you just need a fixed three to five machines to interconnect, the VPS WireGuard setup tutorial is simpler. Headscale is better suited to home labs and small teams with more devices that need users and tags, subnet routing or unified policies.
The trade-off is clear too: when the control server goes down, existing connections don't necessarily drop immediately, but new device registration, policy updates and node re-coordination will be affected. Upgrades, backups and domain renewals are all your responsibility.
Headscale itself doesn't use many resources; 1 core, 1GB RAM and 10–20GB SSD is a reasonable starting point. If you enable embedded DERP, relay bandwidth may become the bottleneck before CPU and memory, so it's worth monitoring with VPS traffic monitoring and overage alerts.
Prepare a dedicated domain, for example headscale.example.com, with an A record pointing directly to the VPS public IP.
If DNS is hosted on Cloudflare, you must use "DNS only" grey cloud. The Headscale control protocol upgrades connections via POST, and Cloudflare orange-cloud proxy and Cloudflare Tunnel do not support this path.
Required ports:
| Port | Purpose |
|---|---|
| TCP 22 | SSH management, best restricted by source |
| TCP 80/443 | Caddy certificate issuance and HTTPS |
| UDP 3478 | STUN for embedded DERP only |
First configure SSH and the firewall according to the VPS security hardening checklist, and don't lock yourself out while changing UFW.
Headscale currently recommends the official DEB for Ubuntu 22.04+ or Debian 12+. At the time of verification for this article the stable version was v0.29.2, but you should still read the latest stable version from the GitHub API when installing:
sudo apt update
sudo apt install -y curl jq ca-certificates

headscale_version="$(curl -fsSL https://api.github.com/repos/juanfont/headscale/releases/latest | jq -r '.tag_name | ltrimstr("v")')"
headscale_arch="$(dpkg --print-architecture)"
printf 'version=%s arch=%s\n' "$headscale_version" "$headscale_arch"

curl -fL \
  -o /tmp/headscale.deb \
  "https://github.com/juanfont/headscale/releases/download/v${headscale_version}/headscale_${headscale_version}_linux_${headscale_arch}.deb"

sudo apt install /tmp/headscale.deb
The official package creates a dedicated user, a sample configuration and a systemd service. Don't rush to open ports; back up the current configuration and compare it against the full sample for the current version:
sudo cp /etc/headscale/config.yaml /etc/headscale/config.yaml.before-guide
sudo less /usr/share/doc/headscale/examples/config-example.yaml
sudoedit /etc/headscale/config.yaml
Don't copy an entire config.yaml from an old blog. Fields change between versions; the safest approach is to modify these keys in the sample shipped with the package:
server_url: https://headscale.example.com
listen_addr: 127.0.0.1:8080
metrics_listen_addr: 127.0.0.1:9090
grpc_listen_addr: 127.0.0.1:50443

trusted_proxies:
  - 127.0.0.1/32
  - ::1/128

database:
  type: sqlite
  sqlite:
    path: /var/lib/headscale/db.sqlite
    write_ahead_log: true

policy:
  mode: file
  path: /etc/headscale/policy.hujson

dns:
  magic_dns: true
  base_domain: tail.example.net
dns.base_domain cannot use the same domain as server_url. Keep listen_addr on the loopback address and expose only Caddy to the public internet.
Validate the configuration before starting:
sudo headscale configtest
sudo systemctl enable --now headscale
sudo systemctl status headscale --no-pager
For the full Caddy installation process, see the VPS Caddy reverse proxy guide. After installation, edit /etc/caddy/Caddyfile:
http://headscale.example.com {
    handle /generate_204 {
        respond 204
    }

    handle * {
        redir https://{host}{uri}
    }
}

headscale.example.com {
    reverse_proxy 127.0.0.1:8080 {
        header_up True-Client-IP {remote_host}
        header_up X-Real-IP {remote_host}
    }
}
Check and reload:
sudo caddy validate --config /etc/caddy/Caddyfile
sudo systemctl reload caddy
curl -fsS https://headscale.example.com/health
Once the health endpoint is working, confirm that 8080 is not listening on the public internet:
sudo ss -lntup | grep -E ':443|:8080|:3478'
Create a user on the Headscale VPS:
sudo headscale users create alice
sudo headscale users list
Install the official Tailscale client on the client machine, then point it at the custom control server:
sudo tailscale up --login-server=https://headscale.example.com
The browser will show registration instructions and an Auth ID. Go back to the Headscale VPS to approve:
sudo headscale auth register --user alice --auth-id AUTH_ID
sudo headscale nodes list
For automated onboarding you can generate a one-time pre-authentication key:
sudo headscale preauthkeys create --user USER_ID
sudo tailscale up \
  --login-server=https://headscale.example.com \
  --authkey AUTH_KEY
By default the key can only be used once and is valid for one hour. It is equivalent to a temporary credential; don't write it into images, repositories or shell history.
When you can't run commands directly on a phone, choose to use another server in the account menu of the Tailscale app and enter the full https://headscale.example.com. The entry name may vary slightly between client versions, but the control server address must exactly match server_url. After registration, immediately verify the node name, user and last-seen time on the server side; for devices that are retired or lost, confirm the identifier in the node list before deleting, and don't rely on editing Grants instead of revoking the device.
When no policy is loaded, Headscale nodes can access each other by default. First create a deny-all /etc/headscale/policy.hujson:
{
  "grants": []
}
After confirming the policy loads, add permissions as needed. For example, let Alice's personal devices interconnect and allow her to access ports 22 and 443 on servers tagged tag:server:
{
  "tagOwners": {
    "tag:server": ["alice@"]
  },
  "grants": [
    {
      "src": ["alice@"],
      "dst": ["autogroup:self"],
      "ip": ["*"]
    },
    {
      "src": ["alice@"],
      "dst": ["tag:server"],
      "ip": ["22,443"]
    }
  ]
}
Reload and check the parsing logs:
sudo systemctl reload headscale
sudo journalctl -u headscale -n 100 --no-pager
When a policy is written incorrectly, don't restart repeatedly. Restore the previous version of the file first, confirm the logs show no parsing errors, then continue editing.
Subnet routing lets Tailnet devices reach LAN devices that can't run Tailscale; an Exit Node forwards a client's internet traffic out through a designated node. Both require the forwarding node to advertise them actively and then be approved by Headscale.
On the forwarding node, first enable IP forwarding:
printf 'net.ipv4.ip_forward = 1\nnet.ipv6.conf.all.forwarding = 1\n' |
  sudo tee /etc/sysctl.d/99-tailscale.conf
sudo sysctl --system
Advertise the LAN route and approve it:
sudo tailscale set --advertise-routes=192.168.50.0/24
sudo headscale nodes list-routes
sudo headscale nodes approve-routes \
  --identifier NODE_ID \
  --routes 192.168.50.0/24
The client accepts the route:
sudo tailscale set --accept-routes
The Exit Node process is similar:
sudo tailscale set --advertise-exit-node
sudo headscale nodes list-routes
sudo headscale nodes approve-routes \
  --identifier NODE_ID \
  --routes 0.0.0.0/0
sudo tailscale set --exit-node EXIT_NODE_NAME
Approving a route only means it can be used; Grants should still restrict which users can access the corresponding subnet or the internet.
Devices try UDP direct connection first. Only behind symmetric NAT, strict firewalls or complex carrier networks might they fall back to DERP.
Headscale does not enable built-in DERP by default and will continue to provide clients with Tailscale's public DERP list. If you really want to self-host a relay, enable it in derp.server of config.yaml, keep verify_clients: true, fill in the VPS's real public IP, and open UDP 3478.
Don't clear the public DERP urls right away. Leaving only one self-hosted DERP creates a single point of failure, and relay speed is limited by VPS bandwidth and network route.
Check the connection:
tailscale ping PEER_NAME
tailscale netcheck
tailscale debug derp-map
tailscale debug derp headscale
tailscale ping showing direct means a peer-to-peer connection; showing via DERP doesn't mean encryption has failed, just that traffic takes one extra hop.
curl -Iv https://headscale.example.com/health
sudo journalctl -u headscale -n 200 --no-pager
sudo journalctl -u caddy -n 100 --no-pager
Focus on whether the domain still has Cloudflare orange cloud enabled, whether the system time is correct, whether the Caddy certificate succeeded, and whether server_url is set to the final HTTPS address.
sudo headscale nodes list
tailscale status
sudo systemctl status tailscaled --no-pager
If the control side is online but the client is offline, it's most likely a client service, DNS, proxy or firewall issue; continue checking with the VPS DNS resolution troubleshooting checklist.
First check whether Headscale successfully loaded Grants, then verify users, tags, target ports and whether routes are approved. Don't change the policy back to permanent allow-all just to "get it working first."
The core things to back up are SQLite, the Noise/DERP private keys, configuration, policies and the Caddyfile. The simplest reliable approach is to briefly stop the control service and then archive:
backup_date="$(date +%F)"
sudo systemctl stop headscale
sudo tar -C / -czf "/root/headscale-backup-${backup_date}.tar.gz" \
  etc/headscale \
  var/lib/headscale \
  etc/caddy/Caddyfile
sudo systemctl start headscale
sudo tar -tzf "/root/headscale-backup-${backup_date}.tar.gz" | head
curl -fsS https://headscale.example.com/health
sudo headscale nodes list
This causes a brief control-plane interruption; existing direct connections usually continue, but don't do it during bulk device registration. Before a formal upgrade, do another VPS backup and restore drill.
Upgrade order:
- Record the current
headscale version; - Back up and verify the archive;
- Download the new official DEB;
- Compare against the new version's
config-example.yaml; - Run
headscale configtest; - After restart, check health, node list, Grants, routes and one real peer ping.
If the upgrade fails, install the original version DEB and restore the database and configuration from the same backup; don't keep trying across versions on a broken state.
A successful web health response only proves the control service is reachable; it doesn't mean the whole private network is usable. From at least one external network, complete the following checks:
- A new device can register over HTTPS and belongs to the correct user in
headscale nodes list; - Two devices allowed to reach each other can resolve by hostname and connect, and unauthorized ports are indeed denied;
tailscale pingcan distinguish direct connection from DERP, and transfers complete reliably even when relayed;- A subnet-routing client can reach the target LAN address, and access disappears after disabling
--accept-routes; - If Exit Node is enabled, the egress IP changes when accessing the internet, and reverts to the local egress after deselecting it;
- After restarting Headscale and Caddy, nodes, policies and routes still exist;
- Unpack the backup on another machine and confirm the database, policies and private key files are actually included.
Finally, set up monitoring for domain certificate renewal, disk space and service anomalies. The control plane is usually quiet; what's really dangerous is certificate expiry, a full disk and unrecoverable backups that go unnoticed for a long time.
- Want peace of mind and few devices: use Tailscale's hosted control plane directly;
- Want to control devices and policies yourself and can handle the maintenance: use Headscale;
- Only a few fixed nodes and no need for user, tag and route management: use native WireGuard.
Headscale's real value isn't "free Tailscale" but control. Only after you also manage DNS, Grants, backups and upgrades does that control not turn into a new single point of failure.